


August 29th, 2019
Behind the Scene: Simple Set up for Shooting Product Photo
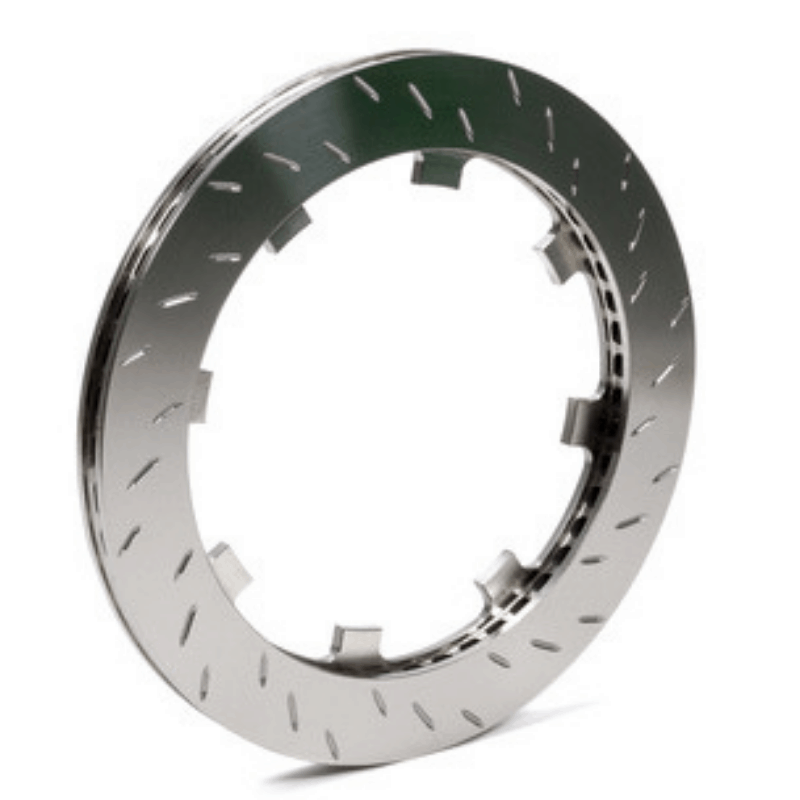
Taking a photo of the products that you are selling is one of the many challenges that a business owner encounters. I have a lot of products that I have been taking the photo of and ever since I did it I mostly use my simple set up to shoot them. See one of the products that I shoot from my crateinsider.com e-commerce business.
Would you believe that I only use few low-cost materials that can be easily found in any store in your area? Or sometimes within your home that is just eating dust on the shelf. I am sharing the list with you so you can easily set it up too.
What do you need?
- Small portable table or any sturdy table,
- Plain poster board,
- Foam core (3 pieces)
- A ringlight
How to set up?
Setting it up is as simple as ABC. Simply, position your table in the area of your home with good natural lighting (if there’s any). On top of it, place your plain poster board. Tape up together the edges of your 3 pcs foam core in order to create backing and a wall that is going to be used to shelter the light from your ring light. Once this is all set up, you can now start shooting your product photos.
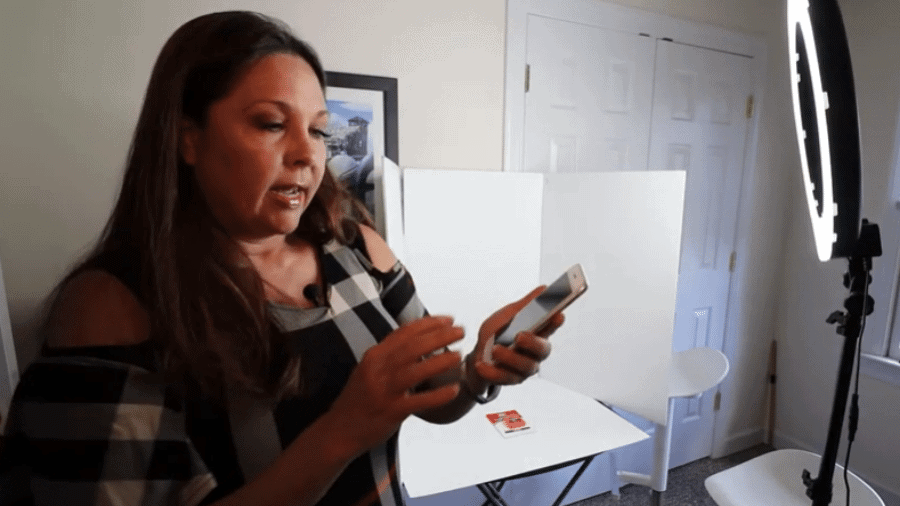
Photo Tips
- For bigger products, use butcher paper and lay it in the area where you have a good source of natural light or enough light coverage from your ringlight.
- You can use your iPhone to take a picture in flat lay style. Make sure it is set up in square pictures.
- Use plain white background, for a clean and less editing product photos.
I have tried lightboxes and all different kinds of things to take pictures of my products but this only way that worked for me. If you’re looking for shooting video, on the other hand, Pivo is the best gear for moving objects. I have a video on how to set it up and its accessories. You can grab this amazing gear here.